
Last updated November 22, 2026
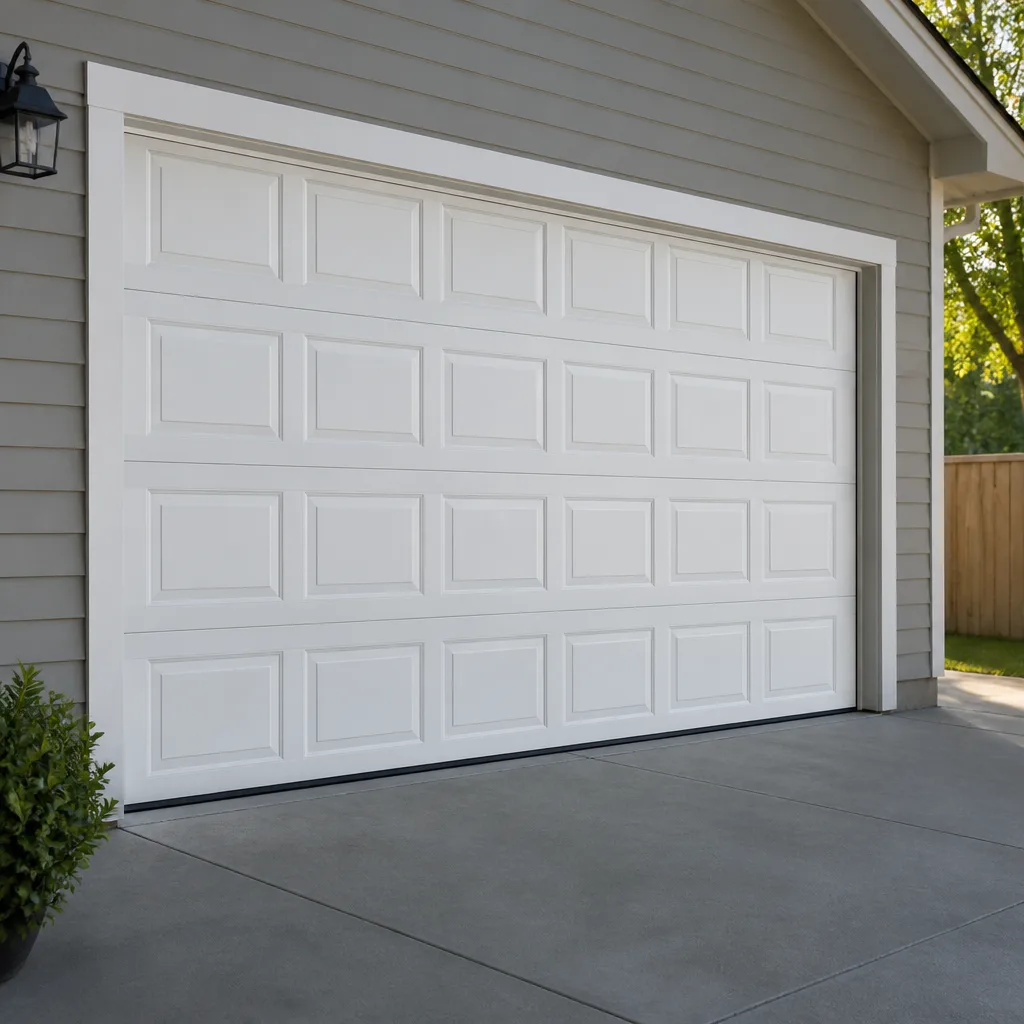 Raised-panel steel
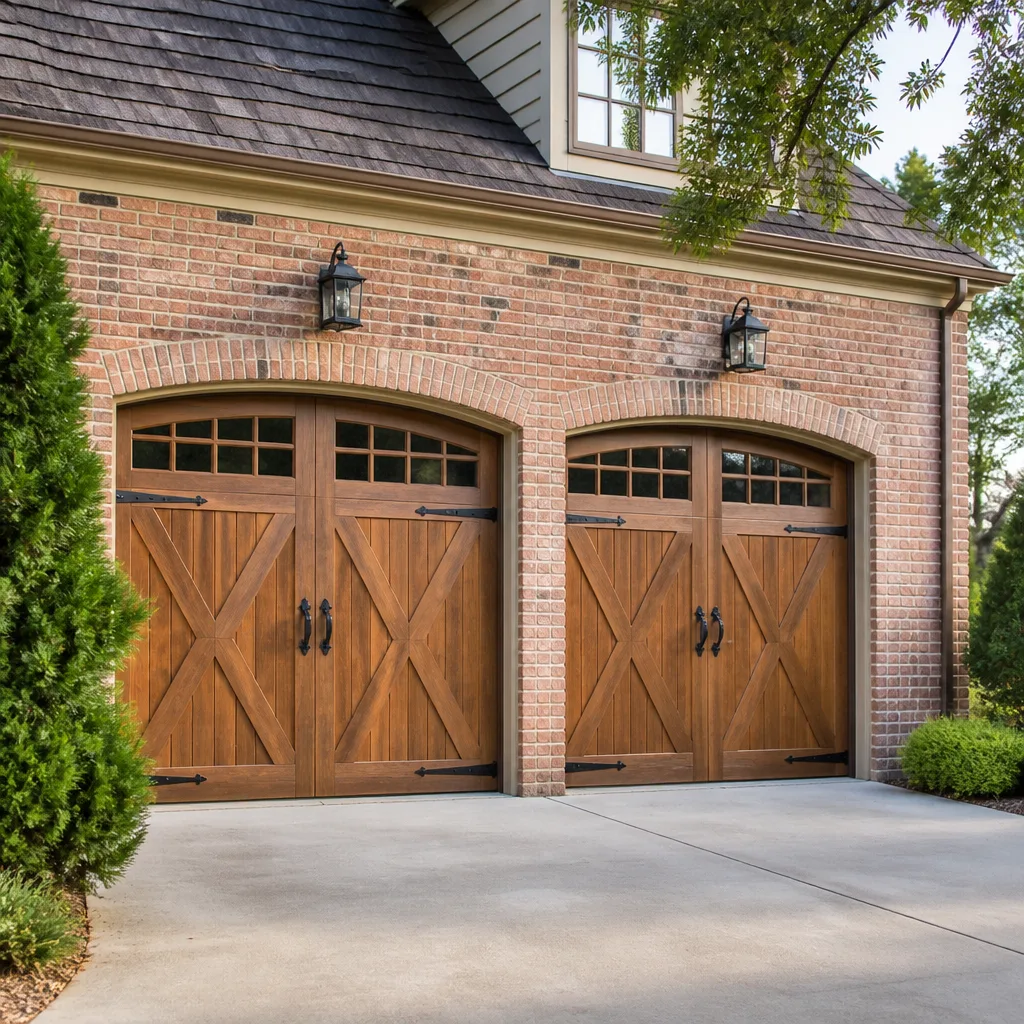 Carriage house
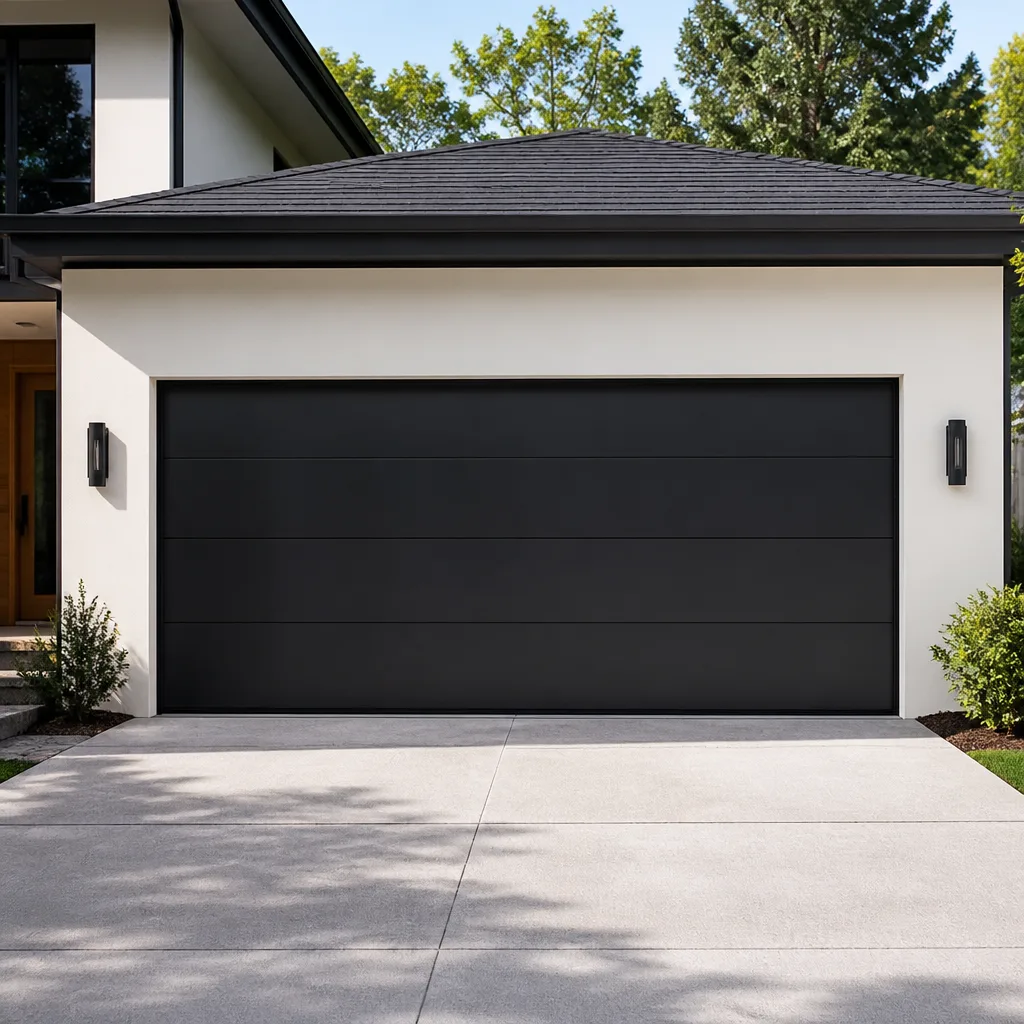 Modern flush
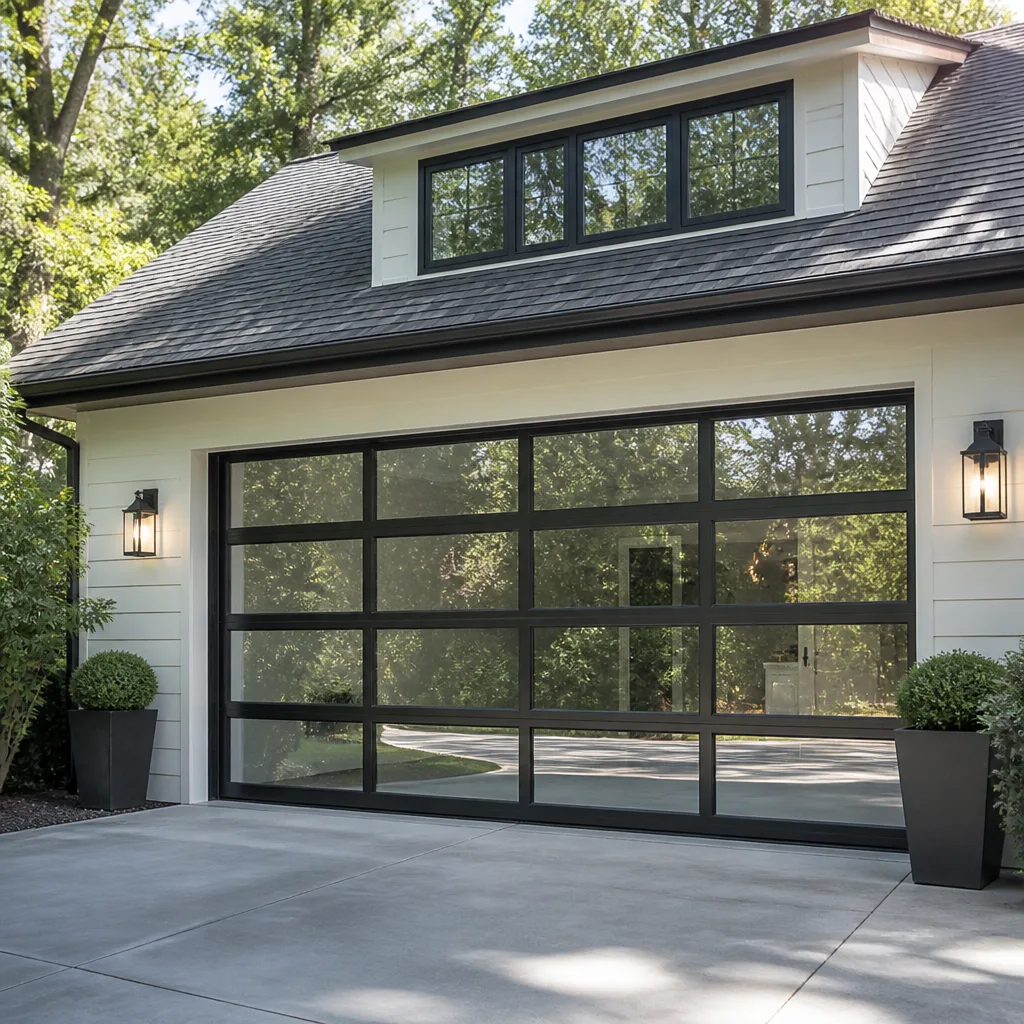 Full-view glass
 LiftMaster openers
 Chamberlain openers
Full 25-point door and opener safety check with every visit - springs, cables, rollers, tracks, and your LiftMaster or Chamberlain opener included
You get a price before we start. It does not change when the pro arrives.
Get your free estimateGarage Door Repair Maintenance Checklist for Lynn Homeowners
Lubricating garage door springs before checking their tension is the most common DIY maintenance mistake we see. Oil quiets the squeak that would have warned you about a spring on its way out, and by the time the spring snaps, you’re looking at a much bigger repair than a routine adjustment. Lubricant doesn’t fix a tired spring. It hides the symptom. A maintenance checklist only earns its keep when it runs in the same order a trained technician actually inspects a door: visual first, then mechanical, then electrical, then operational. Get that sequence wrong and you’ll skip right past the failures that cost the most to fix. In this guide, we walk through the correct order for a Lynn garage door tune-up, the winter-specific checks that matter here, and how to log what you find so a slow decline never turns into an emergency call.
Quick Answer
A proper garage door maintenance checklist runs in four ordered stages: visual inspection of springs, cables and hardware; mechanical checks of balance, rollers and tracks; electrical checks of the opener, safety sensors and force settings; and finally an operational test of the whole system. Doing these in sequence matters because each stage builds on the one before it, and checking electrical function before confirming mechanical balance gives you false results. Lynn homeowners should also inspect exposed hardware for winter wear and check weather seals after every freeze-thaw cycle.
Styles & brands we work with
- Raised-panel steel
- Carriage house
- Modern flush
- Full-view glass
- LiftMaster openers
- Chamberlain openers
Table of Contents
- Why the Order of Your Checklist Matters More Than the List
- Stage One: The Visual Inspection
- Stage Two: Mechanical Checks
- Stage Three: Electrical and Opener Checks
- Stage Four: The Operational Test
- Lynn Winter Checks: Freeze-Thaw Cycles and Hardware Wear
- Logging Your Findings Across Seasons
- Which Maintenance Tasks Can Void Your Warranty
Why the Order of Your Checklist Matters More Than the List
Most maintenance checklists are organized by category, not by inspection order. You’ll see “springs, then opener, then tracks, then safety sensors,” which sounds tidy but leads to bad diagnostics. Here’s why: the mechanical system (springs, cables, balance) determines how the door behaves, and the opener is just the motor that follows along. If you check the opener first and it seems weak or slow, you might diagnose an opener problem when the real issue is an unbalanced door dragging on the motor. That leads to an unnecessary opener repair when the actual fix was a balance adjustment.
At Lynn Garage Door Repair Co, that’s the first thing our technicians work through on any call. The sequence below is the one that gives reliable results:
- Visual inspection. Look at springs, cables, rollers and hinges without touching anything under tension. You’re checking for wear, breakage, gaps and misalignment.
- Mechanical checks. Test the door’s balance and travel by hand with the opener disconnected. Check track alignment and roller condition.
- Electrical and opener checks. Test the opener, safety sensors, force settings and remote operation. Any opener fault you find at this stage is likely real.
- Operational test. Run the full open-close cycle and test the auto-reverse function. This confirms everything works together.
Skip ahead and you’ll be chasing phantom problems. Do it in order and every finding points to the right cause. For Lynn homeowners, that matters because a door that appears to have a bad opener often just has a tired spring or a misaligned track, and those are far less expensive to sort out once you know which one it is.
Stage One: The Visual Inspection
Start with your eyes, not your hands. Nothing in Stage One requires you to touch a spring, cable or any part of the door under tension. You’re looking for visible indicators of wear and pending failure. This is where a trained eye catches a problem weeks or months before it becomes a breakdown.
Here’s what to check and what you’re looking for:
- Springs. Look at the coil. A torsion spring that’s failing will often show a visible gap about the width of a coin somewhere along the coil. Extension springs should have a safety cable running through them; if yours don’t, that’s a red flag. Don’t try to measure tension by hand or push on a spring to “see if it’s still good.” That’s a visual-only check.
- Cables. Follow each cable from the drum to the bottom bracket. You’re looking for fraying, flat spots, kinks or slack. A cable that has come off its drum is under stored energy and can snap without warning. Stop and call a professional if you see this.
- Rollers. Look for cracked or flattened wheels, missing nylon on the roller housing, or rollers that look ground down. Worn rollers cause the door to bind and strain the opener.
- Hinges and brackets. Check for rust, looseness, or bent metal. In Lynn, exposed hinges take a beating from freeze-thaw cycles and general wear.
- Tracks. Look for dents, bends or debris. Tracks should be straight and free of rust along the bearing surfaces.
- Weather seals and bottom seal. Check for cracks, missing sections or a seal that no longer contacts the floor. Lynn’s winter freeze-thaw cycles degrade rubber seals faster than steady cold does.
We’ve found that most homeowners skip the visual stage and jump straight to spraying lubricant on everything. That’s the biggest single order-of-operations mistake we see. Lubricant won’t fix a worn spring, and it can mask a cable problem that looks fine until it fails. Save the lubrication for after you’ve completed the mechanical checks.
Stage Two: Mechanical Checks
Once you’ve made your visual notes, move to the mechanical checks. This stage requires some hands-on contact, but again, never with springs or cables. You’re testing the door’s balance, track alignment and hardware tightness.
Balance and travel
This is the core mechanical check. With the opener disconnected (pull the manual release cord), lift the door by hand to about waist height and let go. A properly balanced door should stay in place, or move only slightly. If it drops, the springs aren’t carrying the weight. If it rises on its own, the springs are over-tensioned. Either way, the door is out of balance and the opener is working harder than it should. Don’t try to adjust the springs yourself. Spring tension adjustment is one of the most dangerous parts of garage door work and requires trained hands.
Track alignment
Look down each track from eye level. It should be straight with no kinks or bends. Run your hand along the inside face; you shouldn’t feel any sharp edges or debris. Tighten any loose track bolts you can reach safely, but if the track is bent or out of alignment, that’s a professional repair.
Roller condition
Spin each roller by hand. A good roller spins freely with no wobble. If a roller binds or grinds, replace it. Roller replacement is one of the easier DIY tasks on this list if you’re comfortable working on the door with springs under tension, but many homeowners choose to have us swap them during a tune-up instead.
Hardware tightness and lubrication
Check hinge screws and bracket bolts for looseness. Tighten with a wrench – don’t overdo it, or you can strip or crack the hinge. Once everything is checked and any loose hardware is tightened, apply a proper garage door lubricant (not WD-40) to springs, hinges, rollers and tracks. This is the step that comes last in the mechanical phase, not first.
During a garage door repair visit, our technicians check balance and travel first before recommending any opener work. A door that seems to have an opener problem often has an unbalanced door behind it.
Stage Three: Electrical and Opener Checks
Now you’re ready to test the electrical components, because you’ve already ruled out mechanical problems as the cause of any slow or weak behavior. Start by reconnecting the door to the opener using the manual release.
Safety sensor alignment
This is the single most important opener check. The two sensors mounted at floor level, on either side of the door opening, should have a clear line of sight between them. A solid light on each sensor means they’re aligned and communicating. A blinking light means misalignment or an obstruction. Clean the lenses and check for anything blocking the beam. If a sensor stays blinking after a clean and realign, it’s likely failed and needs replacing.
Auto-reverse function
The auto-reverse is a safety device. Test it two ways. First, block the sensor beam by placing a foot or a box in front of the sensors while the door is closing. The door should reverse immediately. Second, hold a 2×4 flat on the floor in the door’s path and close the door under it. The door should reverse when it contacts the board. If it doesn’t, the force setting is too high and needs adjustment. This is a critical safety test, not a formality.
Force and travel limits
Your opener has two settings: how much force it applies before giving up, and how far the door travels up and down. If the door doesn’t hit the floor evenly or overshoots the top of the track, the travel limits are off. If the door reverses for no obvious reason, the force setting is probably set too low. These are user-adjustable on most models from LiftMaster, Chamberlain and Craftsman, but consult your opener’s manual for the specific procedure.
Remotes, wall control and battery backup
Test all remotes and the wall-mounted control. If one remote works and others don’t, the issue is likely the remote or its battery, not the opener. Check that any battery backup (common on newer Chamberlain and LiftMaster openers) is functional by unplugging the opener briefly. If the door still operates, the backup battery is fine. Don’t unplug your opener if it’s the only thing powering it and you’re unsure – check the manual first.
Lynn homeowners sometimes call us for garage door opener repair when the actual problem is a sensor or a balance issue. Electrical checks done in the wrong order will send you down the wrong path.
Stage Four: The Operational Test
Everything is reconnected and you’ve completed the first three stages. Now run the full operational test:
- Open the door fully and note the sound. Listen for grinding, popping, or a rhythmic clicking.
- Close the door fully and confirm it seats evenly on the floor with no gaps.
- Watch the door through a full cycle. Look for jerking, hesitation, or a door that drifts to one side.
- Re-test the auto-reverse with an obstruction in the beam path and under the door.
- Check both remotes and the wall control again.
- Note the opener’s force and travel settings in your log so you can spot changes later.
Any jerking, uneven travel, or strange noise at this stage is a sign of a mechanical problem that’s showing up under load. If you completed the earlier stages correctly, you’ll know whether it’s a roller, a track, or a spring issue.
Lynn Winter Checks: Freeze-Thaw Cycles and Hardware Wear
Lynn’s winter weather is hard on garage doors. The pattern that does the most damage isn’t steady cold; it’s the freeze-thaw cycle, where daytime temperatures rise above freezing, snow melts and water gets into cracks and seams, then freezes overnight and expands. That expansion breaks down rubber seals, loosens hardware and degrades any coating that protects exposed metal.
After every winter, add these checks to your routine:
- Bottom weather seal. Look for cracking, compression or a seal that no longer contacts the floor. A worn seal lets cold air, water and small pests into the garage, and it creates a gap that can let water pool around the door’s base and speed up corrosion on the bottom bracket and hinge bolts.
- Hinges and brackets. Freeze-thaw cycles are hard on exposed hardware. Check hinges, brackets and bolts for rust and looseness after the first few freeze-thaw cycles of the season.
- Bottom brackets and cables at floor level. These are the components most exposed to snowmelt and standing water. As water collects and refreezes at the base of the door, watch for rusting at the bottom bracket and early cable wear. Any sign of rust on a bottom bracket or fraying at the cable end is worth having looked at before spring.
- Track alignment. Ice and debris can push tracks out of alignment. Check tracks for straightness after deep snow or a big melt.
- Threshold and floor seal. A gap between the door and the floor lets water in. Check the threshold and the floor around the opening after each freeze-thaw cycle.
A garage door spring repair call in Lynn often follows a winter where freeze-thaw cycles combined with a spring that was already past its useful life. The expansion cycles don’t break springs directly, but they do increase the flex and strain on the whole system.
Logging Your Findings Across Seasons
One-off maintenance doesn’t tell you much. A record does. The point of logging is to see the trend: a roller that’s a little rough this year may be failing by next year, and a seal that’s mildly cracked in October may be leaking by February. If you write it down, you’ll see the decline before it becomes a breakdown.
Keep a simple log, either a notebook in the garage or a note on your phone. For each maintenance session, record:
- Date of inspection.
- Sound of the door at open and close. Rate it on a 1-5 scale or just note “quiet,” “slight grind,” “thumping.”
- Balance test result. Does the door hold at waist height, or move on its own?
- Roller condition. Note any that are rough, cracked or binding.
- Seal condition. Note cracks, gaps or floor contact issues.
- Hardware rust. Note any rust on hinges, brackets or bolts.
- Auto-reverse result. Pass or fail, and note any hesitation.
- Force and travel settings. Note where they’re set so you can spot changes.
After two or three seasons, your log will show patterns. A spring that’s been slow and stiff for two winters and then starts making noise is a candidate for preventive replacement before it fails completely. A door that held its balance last year but now drops is telling you the springs are losing tension. Lynn’s seasonal swings make logging especially valuable, because the same door behaves differently in January than it does in July. Gradual failures are easier to spot against a written record than against memory alone.
Which Maintenance Tasks Can Void Your Warranty
Before you start, know which tasks carry warranty risk if done wrong. Most manufacturers cover the door and opener against defects, but those warranties carry maintenance conditions, and certain homeowner actions can void part or all of the coverage. If you’re unsure, keep your receipts, follow the manual and call a professional rather than experimenting.
- Spring adjustment or replacement. Touching spring tension yourself is the surest way to void a warranty on the spring and potentially the door. This is also the most dangerous task, and the reason we handle spring work as a core service rather than an afterthought.
- Opener force and travel limit adjustment. Adjusting these settings beyond factory specs can void an opener warranty, especially if it leads to a motor or gear failure.
- Drilling or modifying the door panels. Adding aftermarket hardware, drilling new holes, or attaching things to the door can void the door warranty. Check with the manufacturer before modifying anything.
- Using the wrong lubricant. Some manufacturers specify certain lubricants for certain components. Using a general-purpose spray where the manual specifies something else can void coverage on those parts.
- Homeowner panel or cable replacement. Replacing a cable or panel yourself, if it fails, can leave you without warranty coverage on the door system when the replacement fails.
For doors from Clopay, Amarr, Wayne Dalton or Raynor, we check the specific model and warranty conditions before scheduling any work so you know what’s covered. For openers from LiftMaster or Chamberlain, we check the manual’s maintenance conditions before any adjustment. When in doubt, having a professional handle the task protects the warranty. Your written estimate will spell out what’s covered.
Common Mistakes to Avoid
- Lubricating before inspecting. This is the mistake the whole checklist is built around avoiding. A squeak is a diagnostic signal, and lubricant quiets the signal without fixing the cause.
- Checking the opener before the balance. A slow opener may be struggling with an unbalanced door. Diagnose the mechanics first or you’ll pay for the wrong repair.
- Skipping the auto-reverse test. It’s the most important safety check on the list, and a door that fails it should not be operated until fixed.
- Ignoring winter hardware wear. Rusted hinges and loose brackets that seem minor after a freeze-thaw season turn into track problems the following winter.
- Not keeping a log. Without a written record, you’re relying on memory across seasons. Gradual failures are easy to rationalize as “fine” until something breaks.
- Adjusting springs or cables yourself. Springs and cables under tension are genuinely dangerous. This is not a task to learn from a video.
- Skipping the visual inspection in the fall. A quick visual check before winter catches most spring and cable problems before the freeze-thaw season adds stress.
See the difference
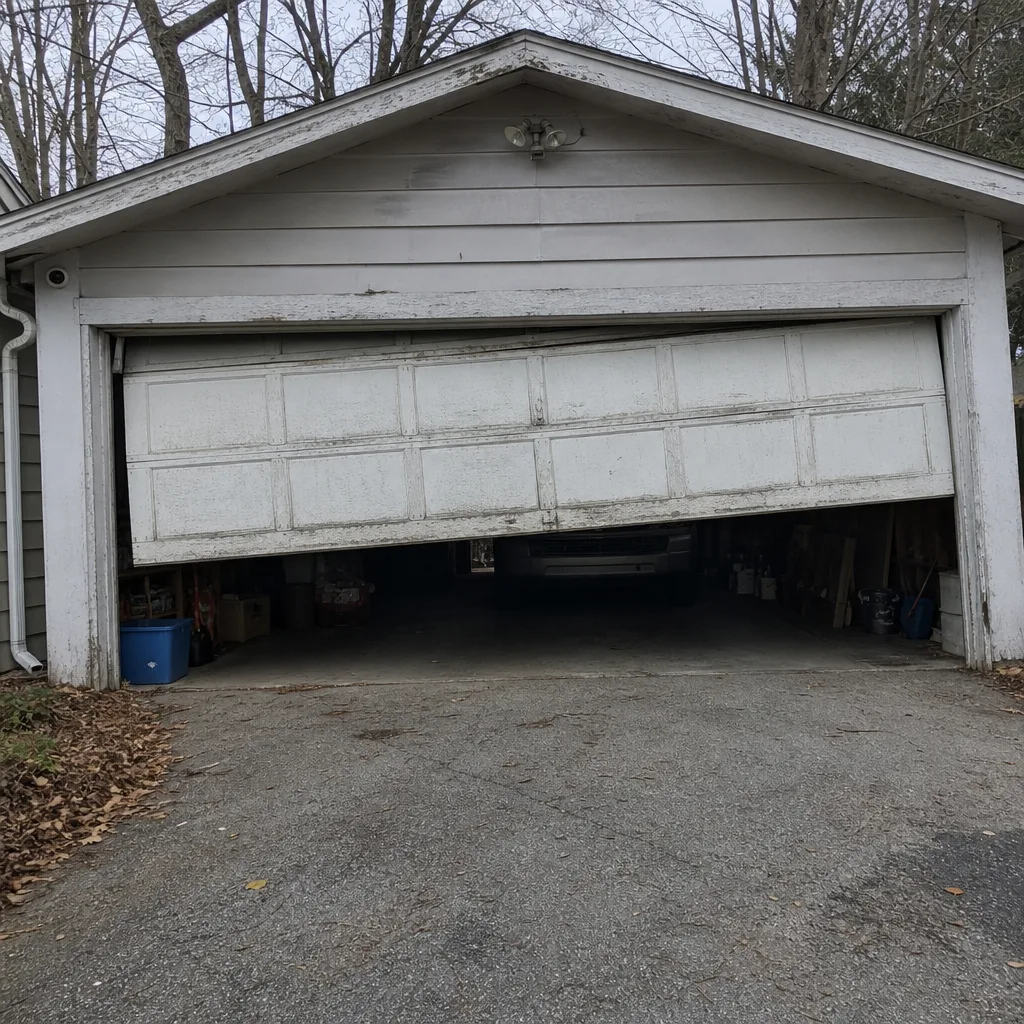 Before
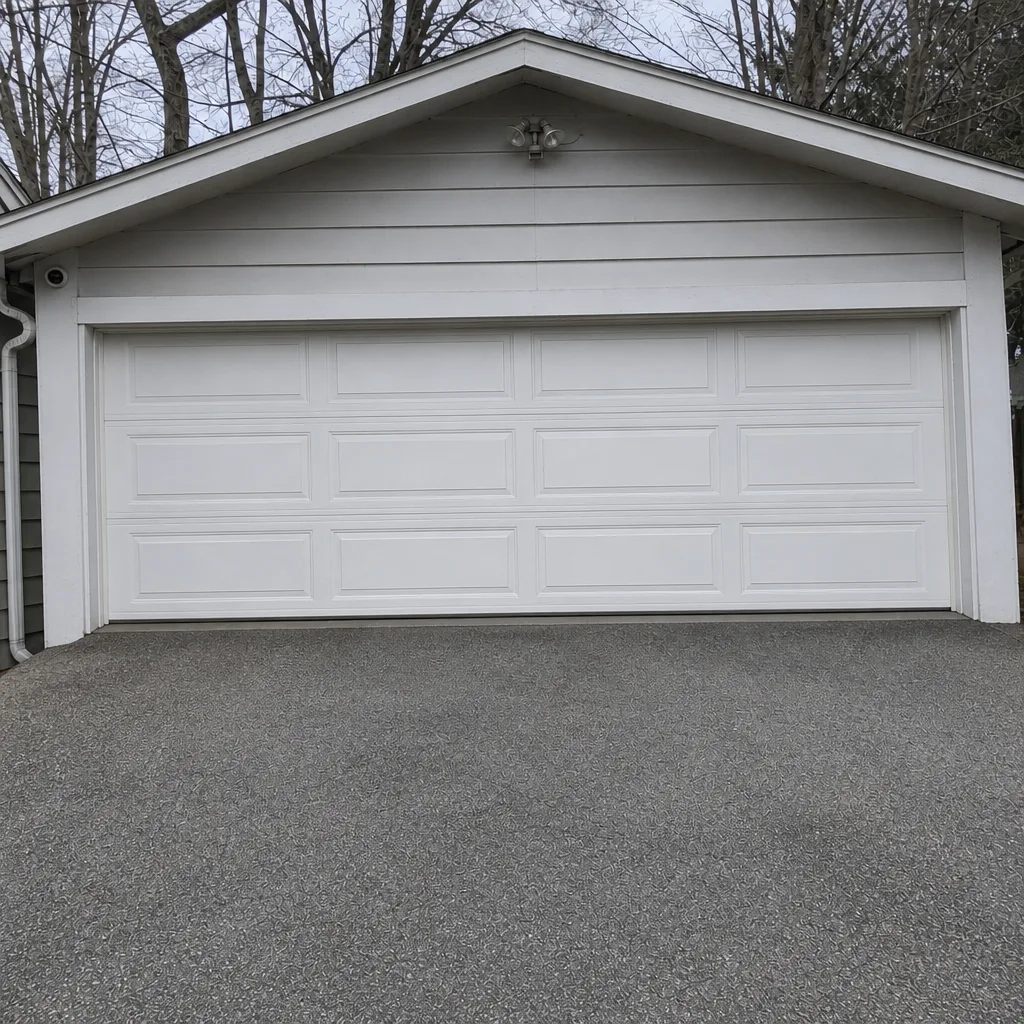 After
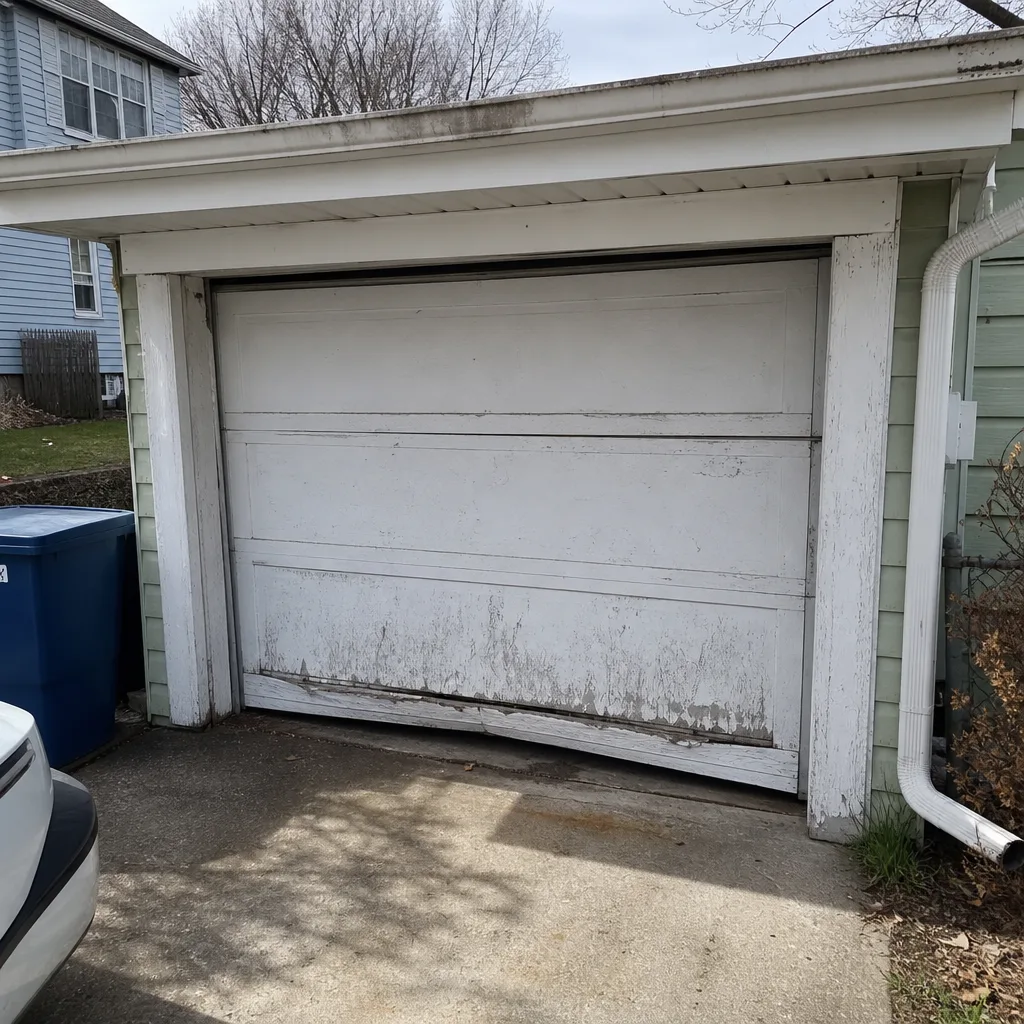 Before
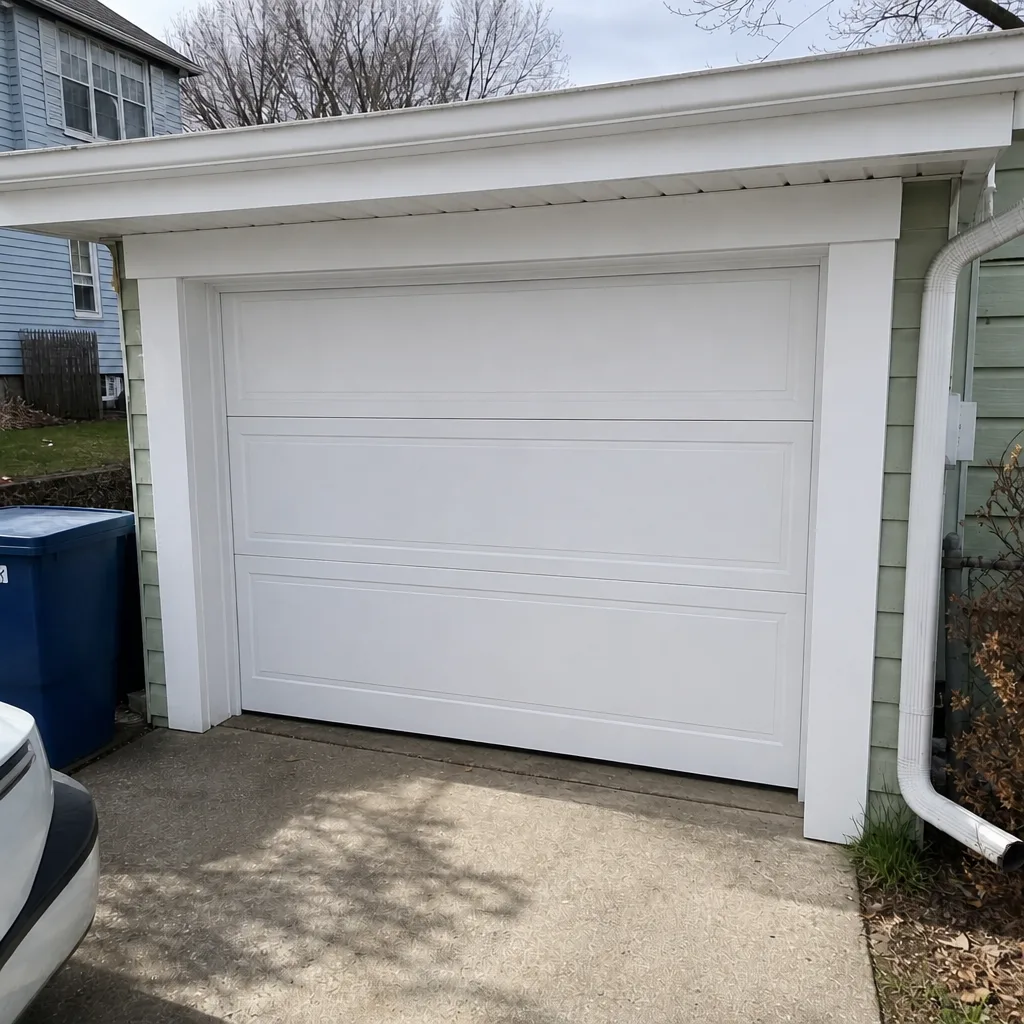 After
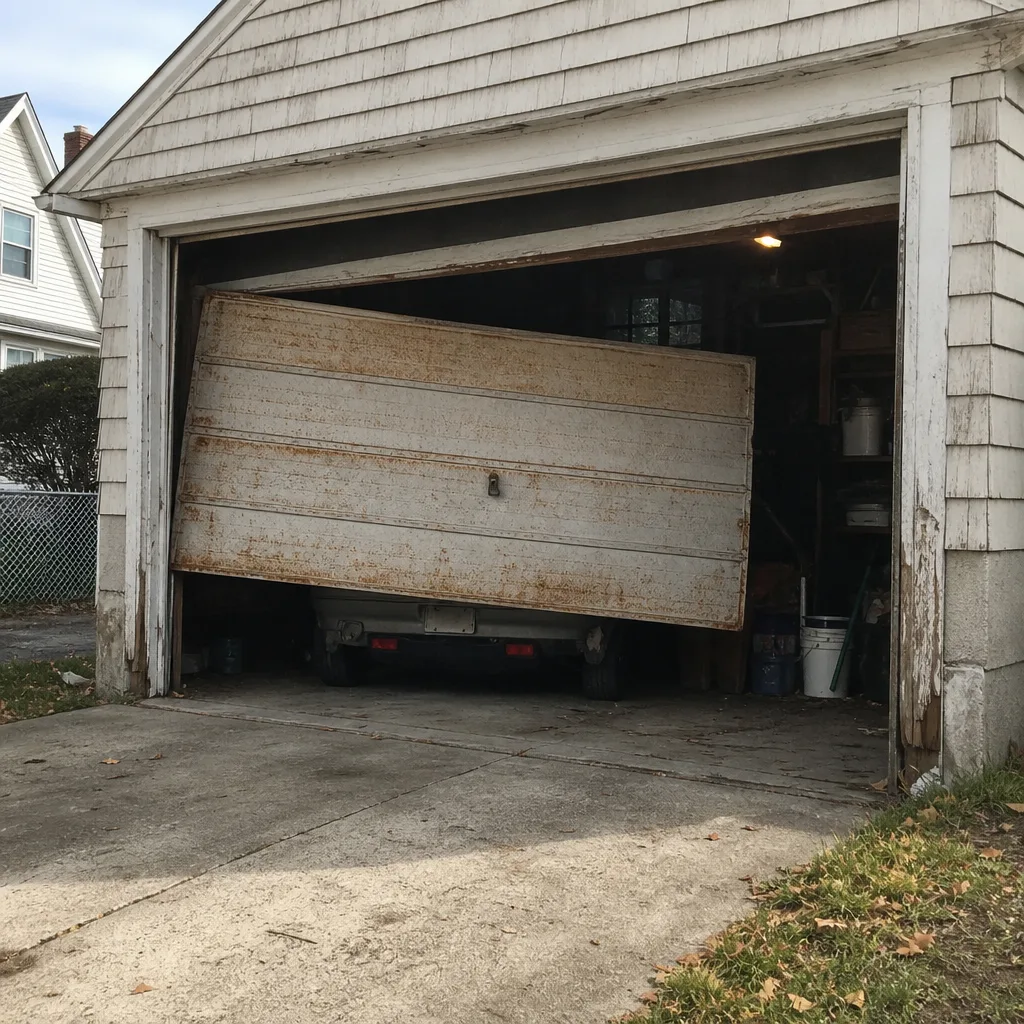 Before
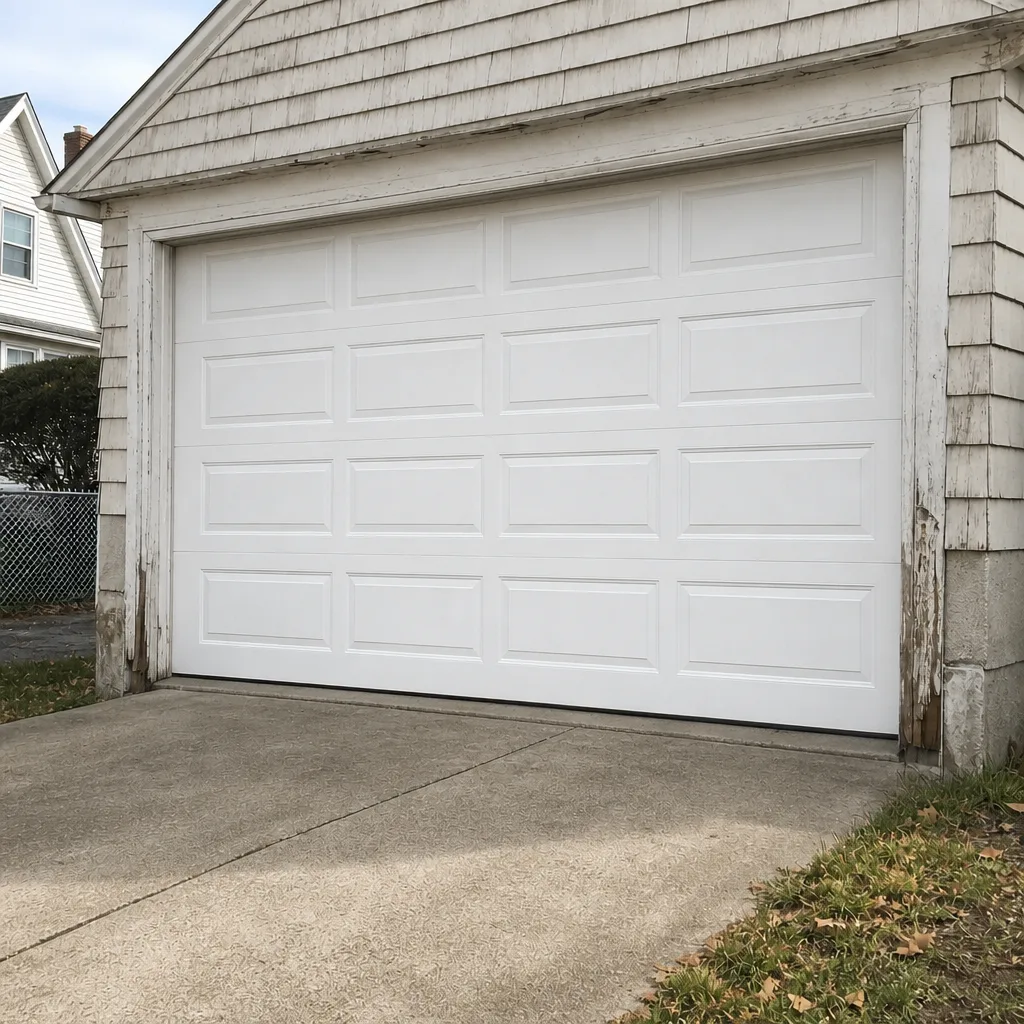 After
When to Call a Professional
Some tasks on this checklist are safe for a homeowner: visual inspection, cleaning sensors, testing the auto-reverse, tightening hinges and lubricating. Others are not. Call a professional if you see a broken or visibly gapped spring, a cable that has come off its drum, a door that drops when you let go, a bent track, or an auto-reverse test that fails. Those are all signs of a system under stored energy or a safety device that’s not working, and they need trained hands. Our technicians have up to 14 years of experience, and we handle spring work as a core specialty because it’s one of the most dangerous parts of the job.
Lynn Garage Door Repair Co offers free estimates in Lynn – call (866) 570-7585. We answer 24/7. Fast dispatch from 7am to 7pm, Sunday through Friday. Same-day service is available for repair calls, and the price is set per job by a written estimate before any work starts.
Frequently Asked Questions
A full checklist twice a year: once in the fall before freeze-thaw cycles begin and once in spring after the last cold snap. Add a visual check after any major winter storm or extended freeze. If your door is older or you’ve noticed new noise, check more often.
You can apply a proper garage door lubricant to springs when the door is fully closed and at rest, but never touch a spring under tension. Lubrication should come after a visual inspection confirms no gaps or visible damage. If you see a gap in the coil, do not touch the spring; call a professional.
Lubricating before inspecting. A squeak is a diagnostic signal. Hiding it with lubricant delays the repair and makes the eventual failure more expensive. Do the visual inspection first, then the mechanical checks, then lubricate only the parts that need it.
Freeze-thaw cycles are hard on the whole system. Seals stiffen, tracks can shift, and springs that are already near end of life struggle more in cold weather. If the door is significantly harder to open in winter than in summer, that’s a sign to have the balance and spring condition checked.
Yes. Never adjust or replace springs, and don’t try to re-seat a cable that has come off its drum. Both are under stored energy and can cause serious injury. Also don’t adjust opener force settings beyond what the manual specifies, as that can void your warranty.
Some tasks can void part of your warranty if done incorrectly: spring adjustment, panel modifications, drilling, and some opener adjustments. Check your owner’s manual for the specific maintenance conditions. If you’re unsure, a professional service call protects the warranty.
The Bottom Line
A maintenance checklist works best as a diagnostic sequence, not a to-do list. Run it in order: visual, mechanical, electrical, operational. That order keeps you from misdiagnosing problems and catches failures before they become repairs. In Lynn, add the post-winter checks for freeze-thaw wear on seals, hinges and hardware. Log what you find each season so you can spot the gradual declines that lead to emergency calls. And call a professional for any spring, cable or safety-sensor issue. Our technicians have up to 14 years of experience and handle everything from a single roller to a full installation. For a free estimate, call (866) 570-7585. We answer 24/7, with fast dispatch from 7am to 7pm, Sunday through Friday, closed Saturday.
Written by the team at Lynn Garage Door Repair Co.